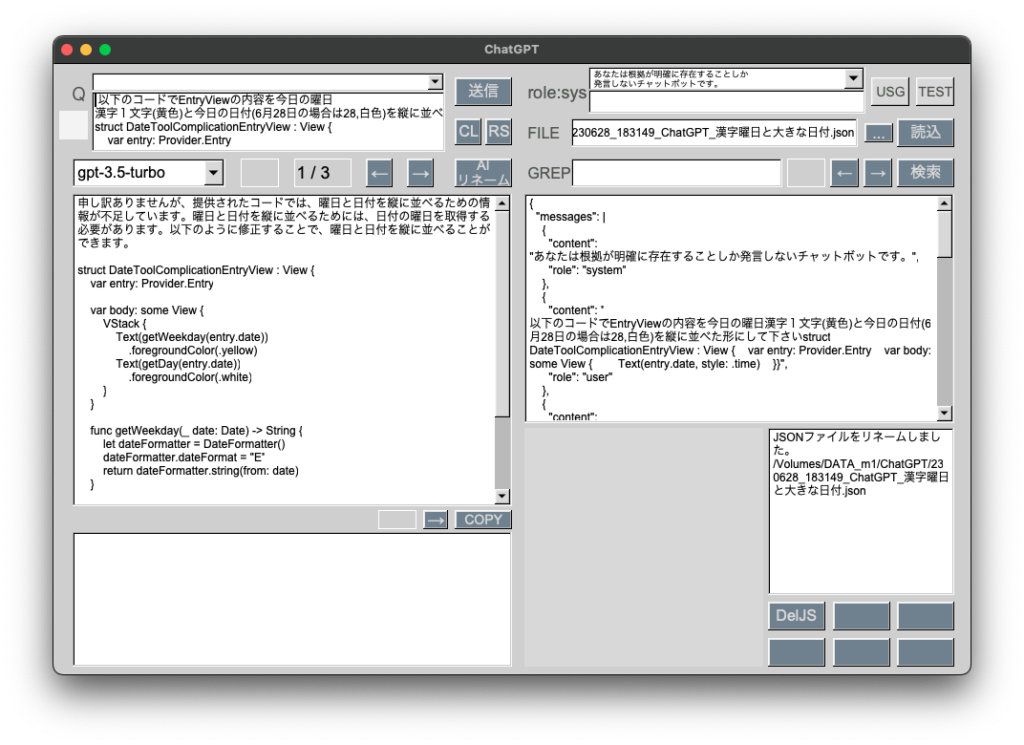
[M1 Mac, Ventura 13.3.1, Xcode 14.3]
製作中のメモアプリがApple Watchでは読み取りだけだったのを編集できるようにしました。
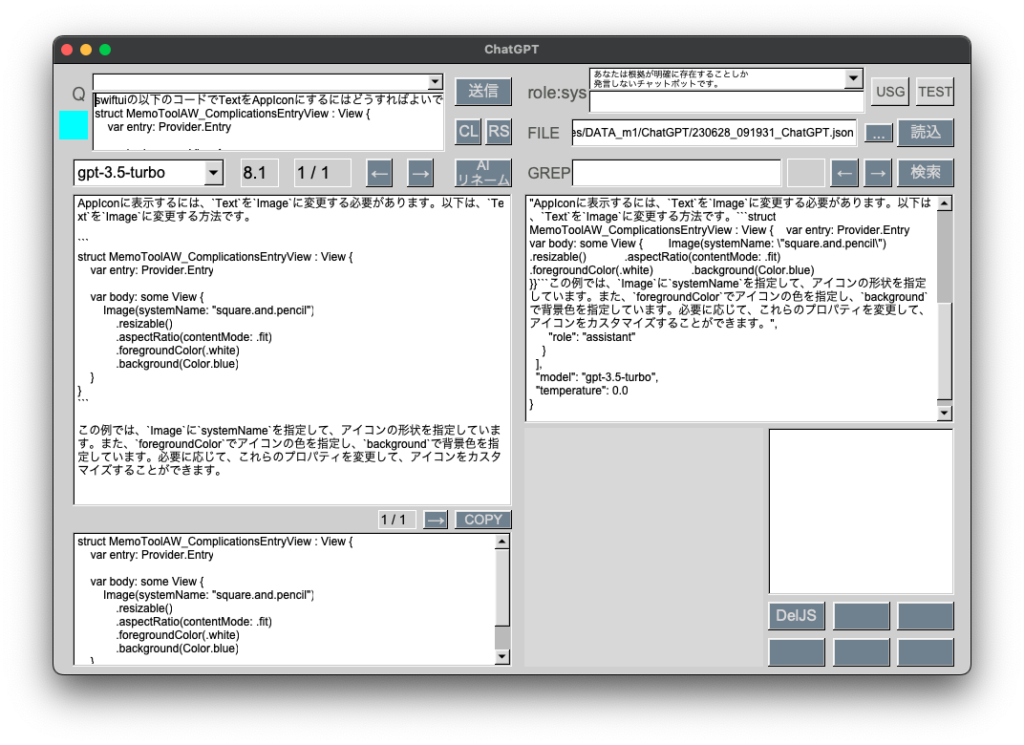
watchOSではTextEditorは使えないため、代わりにTextFieldを使っています。ただTextfieldでは複数行を扱えないので、全ての行がつながってしまいます。
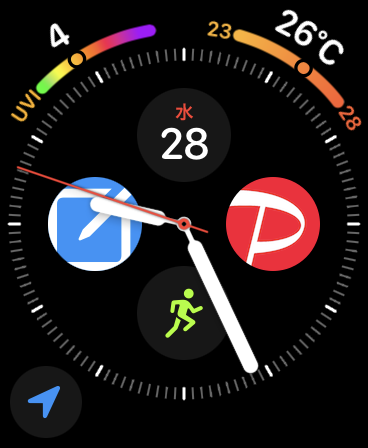
またApple Watch Series 7/8/Ultra以外はキーボード入力ではなく音声入力になります。
発売から8年が経過しているというのに未だにTextEditorが使えないとは。Vision ProだけではなくwatchOSにも力を注いで欲しいです。今のところ、自分で代替の構造体を作るしかないようです。
GoogleのWearOSがどのような内容なのか気になります。そろそろFlutterでGoogle Pixel Watch用アプリも作りたくなってきました。
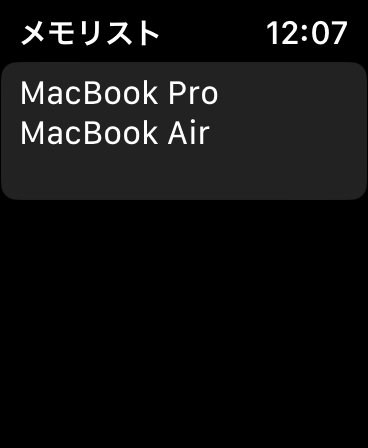
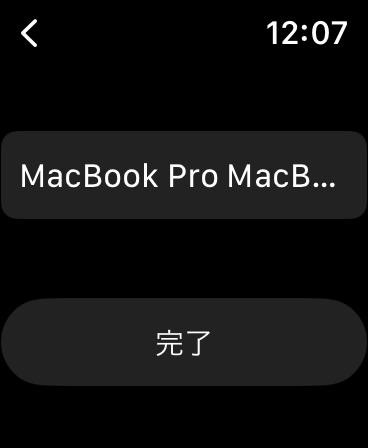
つながって表示される
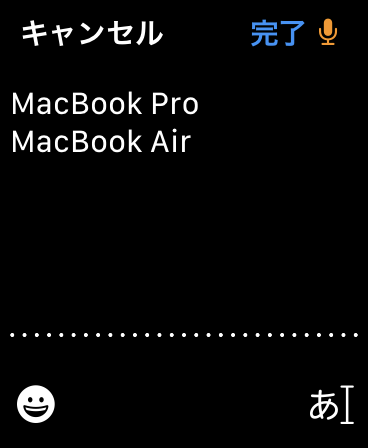
(SE第1世代なので音声入力)
import SwiftUI

struct DraftAppleWatch: View {
    @State var text = ""
    @FocusState var nameFieldIsForcused: Bool
    @Environment(\.managedObjectContext)var viewContext
    var note: Note?

    var body: some View {
        VStack {
            TextField("", text: $text)
                .focused($nameFieldIsForcused)
                .onAppear{
                    DispatchQueue.main.asyncAfter(deadline:DispatchTime.now()+0.5){
                        nameFieldIsForcused = true
                    }
                }

            Button(action:{
                if note != nil{
                    updateContent(note: self.note!) // メモ編集
                }else{
                    addContent() // 新規メモ追加
                }
            }){
                Text("完了")
            }
        }

    }

    func updateContent(note:Note){
        note.content=text

        do{
            try viewContext.save()
        }catch{
            fatalError("セーブに失敗")
        }

        nameFieldIsForcused = false
    }

    func addContent(){
        let newContent = Note(context:viewContext)
        newContent.content = text

        do{
            try viewContext.save()

        }catch{
            fatalError("セーブに失敗")
        }

        nameFieldIsForcused = false

    }


}


struct DraftAppleWatch_Previews: PreviewProvider {
    static var previews: some View {
        DraftAppleWatch()
    }
}