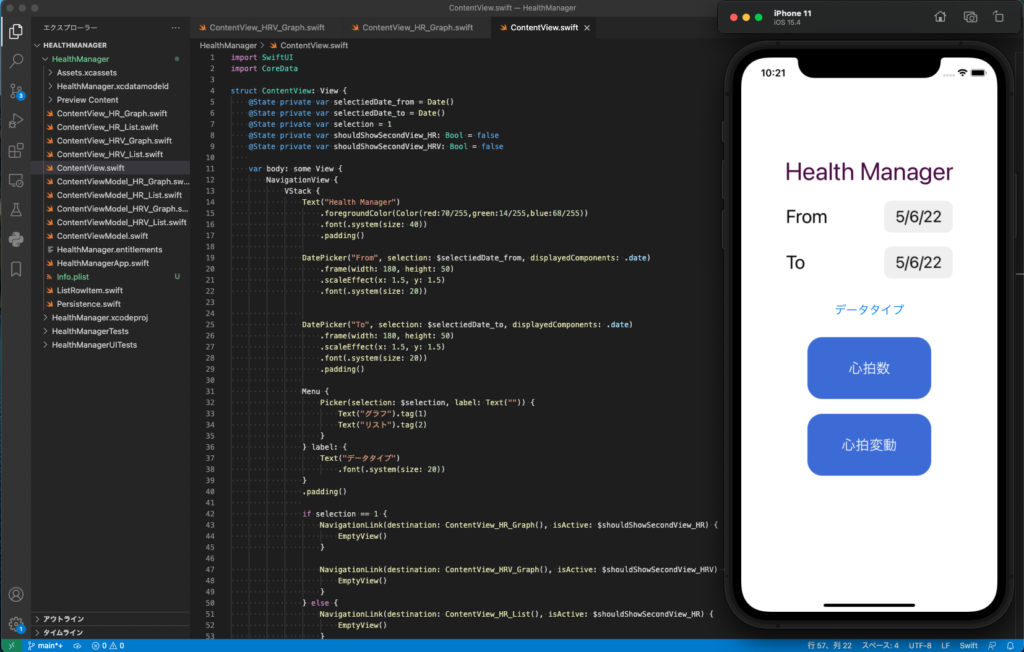
プルダウンメニューでデータタイプをグラフ、リストから選択し、ボタンを押すと測定項目のデータが表示されるようにしました。普通のif文です。
次は心拍変動のデータ取得、指定期間の反映、グラフ表示などです。
import SwiftUI
import CoreData

struct ContentView: View {
    @State private var selectiedDate_from = Date()
    @State private var selectiedDate_to = Date()
    @State private var selection = 1
    @State private var shouldShowSecondView_HR: Bool = false
    @State private var shouldShowSecondView_HRV: Bool = false

    var body: some View {
        NavigationView {
            VStack {
                Text("Health Manager")
                    .foregroundColor(Color(red:70/255,green:14/255,blue:68/255))
                    .font(.system(size: 40))
                    .padding()

                DatePicker("From", selection: $selectiedDate_from, displayedComponents: .date)
                    .frame(width: 180, height: 50)
                    .scaleEffect(x: 1.5, y: 1.5)
                    .font(.system(size: 20))


                DatePicker("To", selection: $selectiedDate_to, displayedComponents: .date)
                    .frame(width: 180, height: 50)
                    .scaleEffect(x: 1.5, y: 1.5)
                    .font(.system(size: 20))
                    .padding()

                Menu {
                    Picker(selection: $selection, label: Text("")) {
                        Text("グラフ").tag(1)
                        Text("リスト").tag(2)
                    }
                } label: {
                    Text("データタイプ")
                        .font(.system(size: 20))
                }
                .padding()

                if selection == 1 {
                    NavigationLink(destination: ContentView_HR_Graph(), isActive: $shouldShowSecondView_HR) {}
                    NavigationLink(destination: ContentView_HRV_Graph(), isActive: $shouldShowSecondView_HRV) {}
                } else {
                    NavigationLink(destination: ContentView_HR_List(), isActive: $shouldShowSecondView_HR) {}
                    NavigationLink(destination: ContentView_HRV_List(), isActive: $shouldShowSecondView_HRV) {}
                }


                Button {
                    shouldShowSecondView_HR = true
                } label: {
                    Text("心拍数")
                        .foregroundColor(Color.white)
                }
                    .frame(width: 200, height: 100)
                    .background(Color(red:61/255,green:110/255,blue:218/255))
                    .font(.system(size: 24))
                    .cornerRadius(24)
                    .padding()

                Button {
                    shouldShowSecondView_HRV = true
                } label: {
                    Text("心拍変動")
                        .foregroundColor(Color.white)
                }
                    .frame(width: 200, height: 100)
                    .background(Color(red:61/255,green:110/255,blue:218/255))
                    .font(.system(size: 24))
                    .cornerRadius(24)

                Spacer()

            }
        }
    }
}