[Mac mini M1, MacOS Monterey 12.3.1, XCode 13.3.1]
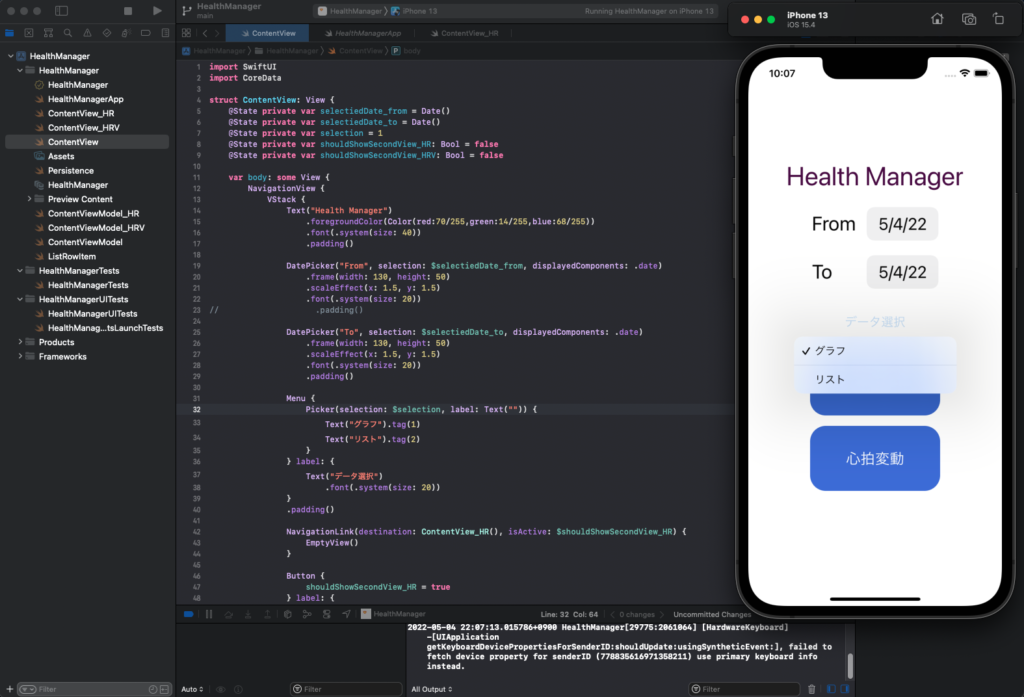
データタイプを選択させるためプルダウンメニューを配置しました。
フォントサイズの設定に手間取りました。Swiftの文法で引っかかったのは初めてです。Pickerの最初のラベルが反映されないので空文字にしましたが、なぜそうなるのか謎です。
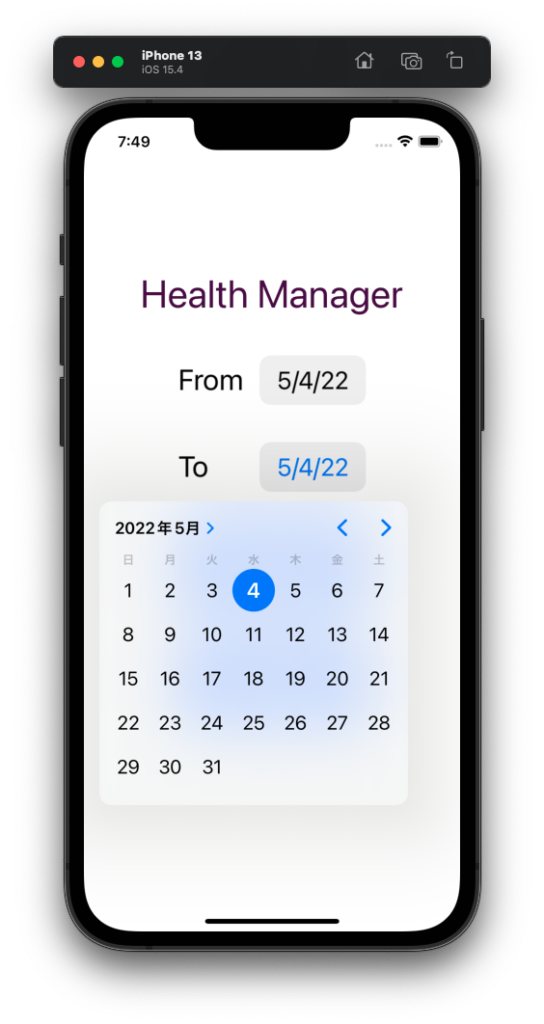
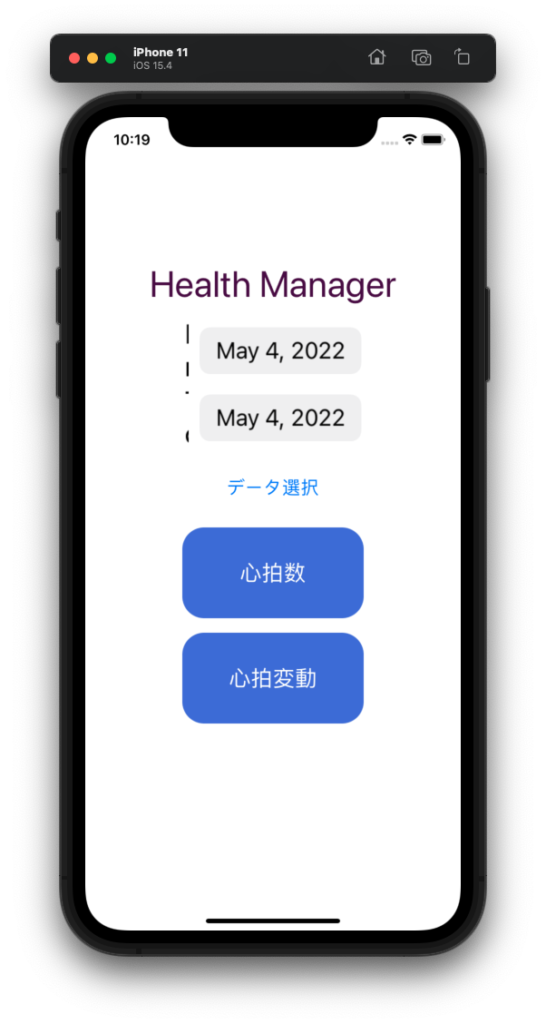
あとiPhone13では正常に表示されますが、iPhone11ではFromとToがまともに表示されません。月が英語表記になっています。英語表記になって幅が広がったためラベルがはみ出したのでしょう。何らかの対策が必要になります。表記を統一できない場合は、自分用のアプリなのでiPhone13を切り捨てることになります。
import SwiftUI
import CoreData
struct ContentView: View {
@State private var selectiedDate_from = Date()
@State private var selectiedDate_to = Date()
@State private var selection = 1
@State private var shouldShowSecondView_HR: Bool = false
@State private var shouldShowSecondView_HRV: Bool = false
var body: some View {
NavigationView {
VStack {
Text("Health Manager")
.foregroundColor(Color(red:70/255,green:14/255,blue:68/255))
.font(.system(size: 40))
.padding()
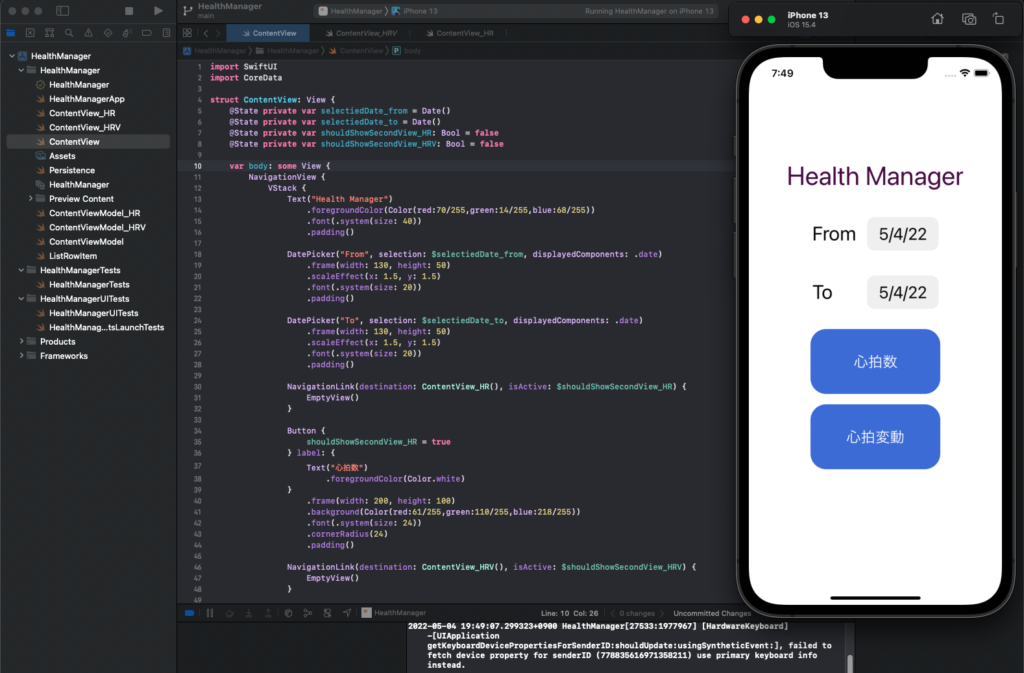
DatePicker("From", selection: $selectiedDate_from, displayedComponents: .date)
.frame(width: 130, height: 50)
.scaleEffect(x: 1.5, y: 1.5)
.font(.system(size: 20))
DatePicker("To", selection: $selectiedDate_to, displayedComponents: .date)
.frame(width: 130, height: 50)
.scaleEffect(x: 1.5, y: 1.5)
.font(.system(size: 20))
.padding()
Menu {
Picker(selection: $selection, label: Text("")) {
Text("グラフ").tag(1)
Text("リスト").tag(2)
}
} label: {
Text("データ選択")
.font(.system(size: 20))
}
.padding()
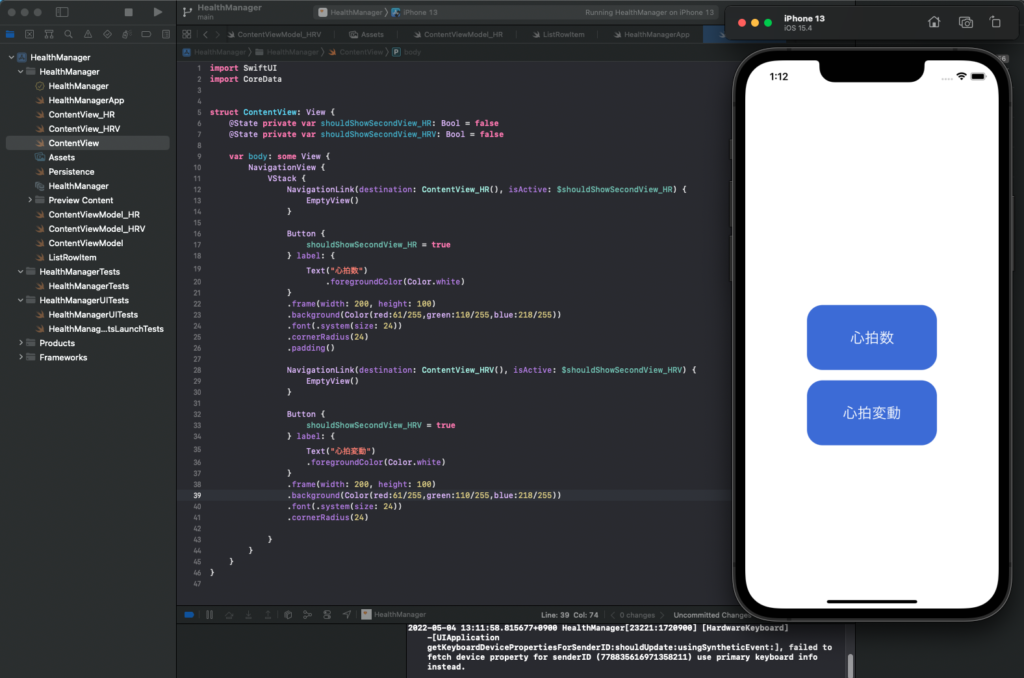
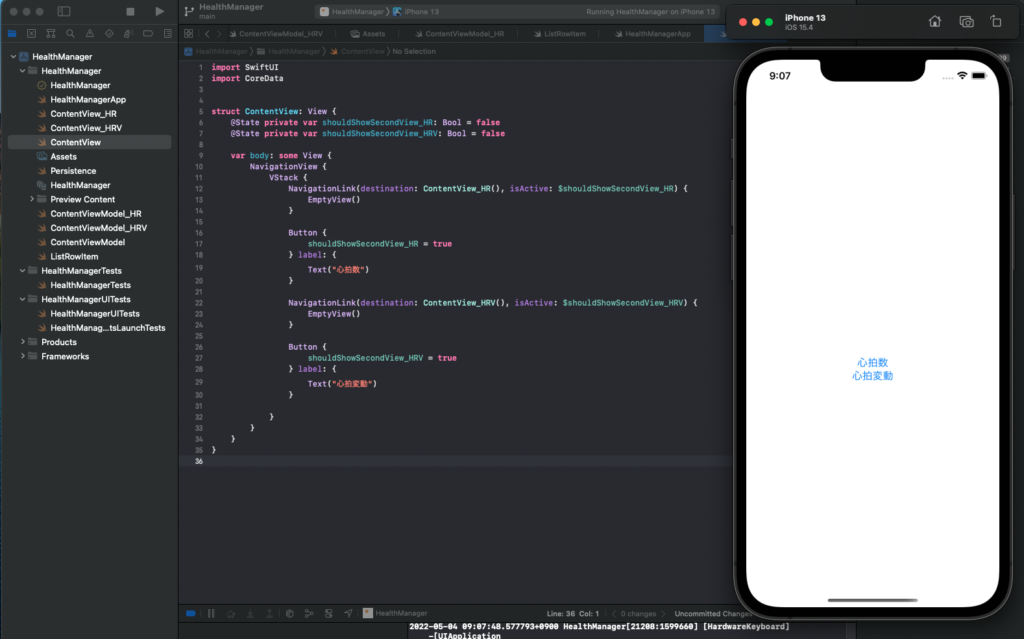
NavigationLink(destination: ContentView_HR(), isActive: $shouldShowSecondView_HR) {
EmptyView()
}
Button {
shouldShowSecondView_HR = true
} label: {
Text("心拍数")
.foregroundColor(Color.white)
}
.frame(width: 200, height: 100)
.background(Color(red:61/255,green:110/255,blue:218/255))
.font(.system(size: 24))
.cornerRadius(24)
.padding()
NavigationLink(destination: ContentView_HRV(), isActive: $shouldShowSecondView_HRV) {
EmptyView()
}
Button {
shouldShowSecondView_HRV = true
} label: {
Text("心拍変動")
.foregroundColor(Color.white)
}
.frame(width: 200, height: 100)
.background(Color(red:61/255,green:110/255,blue:218/255))
.font(.system(size: 24))
.cornerRadius(24)
Spacer()
}
}
}
}